

- Use mParticle as your reporting tool for Kameleoon.
- Simple integration with the ability to modify the native bridge via a code sample from Kameleoon’s Github.
Activate mParticle on Kameleoon
The first step is enabling mParticle:- Open the Kameleoon app.
- Click Admin > Integrations.
- Search for the mParticle integration and click it.
- Click Install.
- Select the project on which you want to activate mParticle.
- Click Install.
If you want to change the behavior of the native bridge, you can create a custom analytics bridge and use the mParticle sample code in the Kameleoon Github repository.
Associate mParticle with a Kameleoon campaign
In the Graphic/Code editor
When finalizing your experiment, click the Integrations step to configure mParticle as a tracking tool. Select mParticle.
On the personalization creation page
You can select mParticle from the reporting tools for a personalization in the same way you would in an A/B test.
On the Results page
Once you set mParticle as a reporting tool for an experiment, you can select (or clear) it via the Kameleoon Results page. To do this:- Click the three dots menu in the top right of the screen.
- Select Experiment configuration (Open configuration for personalization). A side menu appears.
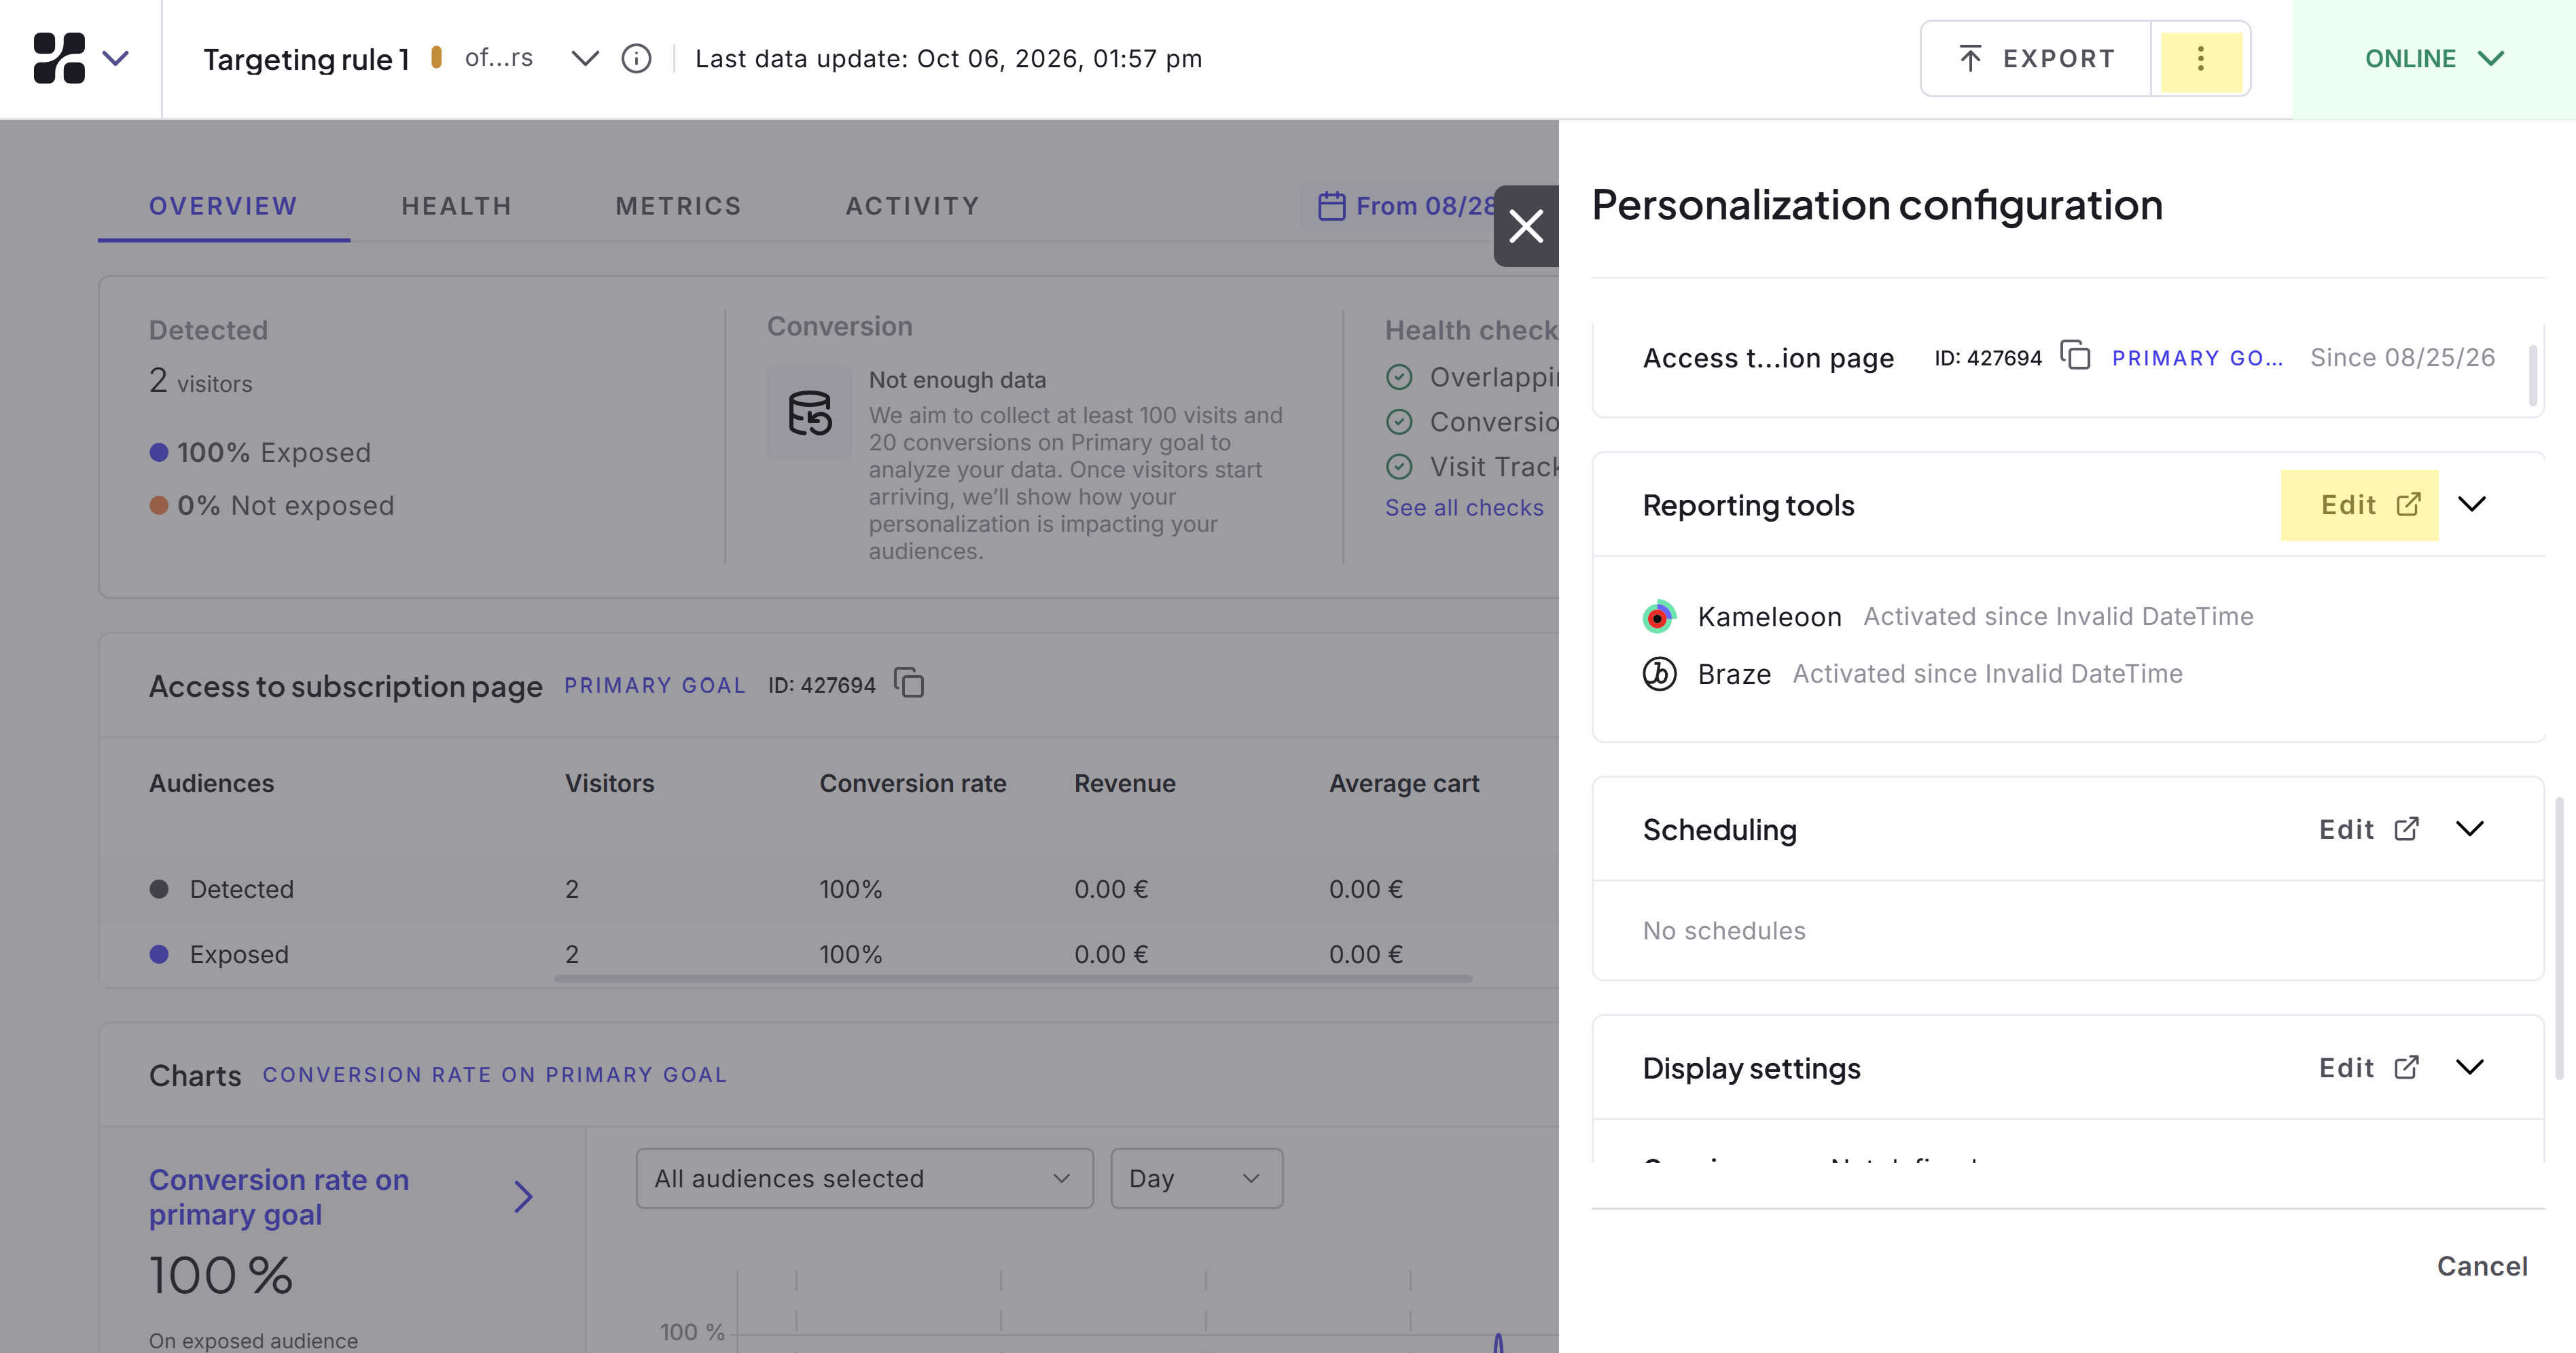
- Scroll to the Reporting tools section, then click Edit. The Finalization page appears.
- Click Integrations.
- Click Activate on the mParticle tool.
- To save this step, click Next.
On a feature flag
To add mParticle to a feature flag:- Click Edit on the feature flag you want to track.
- Click Integrations in the Reporting section. All the integrations you’ve enabled appear.
- Toggle mParticle on for Delivery rules, Feature experiments, or both.