

To learn how to create a new feature flag, read Create a feature flag.
Access the Feature flags dashboard
To access the Feature flags dashboard, click Features > Flags & Experiments. The dashboard opens on the Overview tab. Use the environment dropdown to choose which environment’s data the table displays:- Production
- Staging
- Development
- All environments, which shows data from every environment at once and changes the table’s layout. Read View flags across all environments for details.
- Collapsed: A compact view showing one row per feature flag.
- Expanded: Shows each flag’s rules beneath it, including each rule’s name, type, and status.
Collapsed view columns

- Name: The flag’s name. A colored bar to the left of the name indicates the flag’s project.
- Rule status: The number of active rules out of the flag’s total rules, for example 2/3 rules Active, with a colored dot indicating the status.
- Rule type: The number of rules of each type, shown next to a distinct icon for Targeted Delivery, Experimentation, and Progressive Delivery.
- Modified: The flag’s last-modified date, shown as a relative time (for example, yesterday) or a date depending on how recently the change occurred.
- Created: The flag’s creation date.
- Tags: The flag’s tags.
- Team: The flag’s team. Blank if the flag has no team.
View additional details for a flag
Hover over the information icon on a flag’s card to see additional details. The tooltip scrolls, so keep scrolling to see every field. It has two sections:
- URL
- Feature key
- Feature status, which refers to the flag’s health rather than its on/off state. Read Manage feature flag technical debt to learn how Kameleoon calculates this status.
- Tags
- Creator
- Key dates: creation date, last content change, last modification, and last evaluation.
Find a feature flag
Use the search bar, the Filters tab, and the Columns tab’s sort options to locate specific flags. Use the search bar at the top of the Overview tab to find a flag by name.Filter flags

- Project
- Tags
- State
- Health
- Key date
- Rule state
- Rule type
- Integrations
Kameleoon generates a unique URL with custom parameters when you apply filters. To share this URL with team members, click Copy link to this filtered dashboard on the right side of the dashboard.
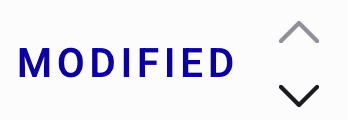
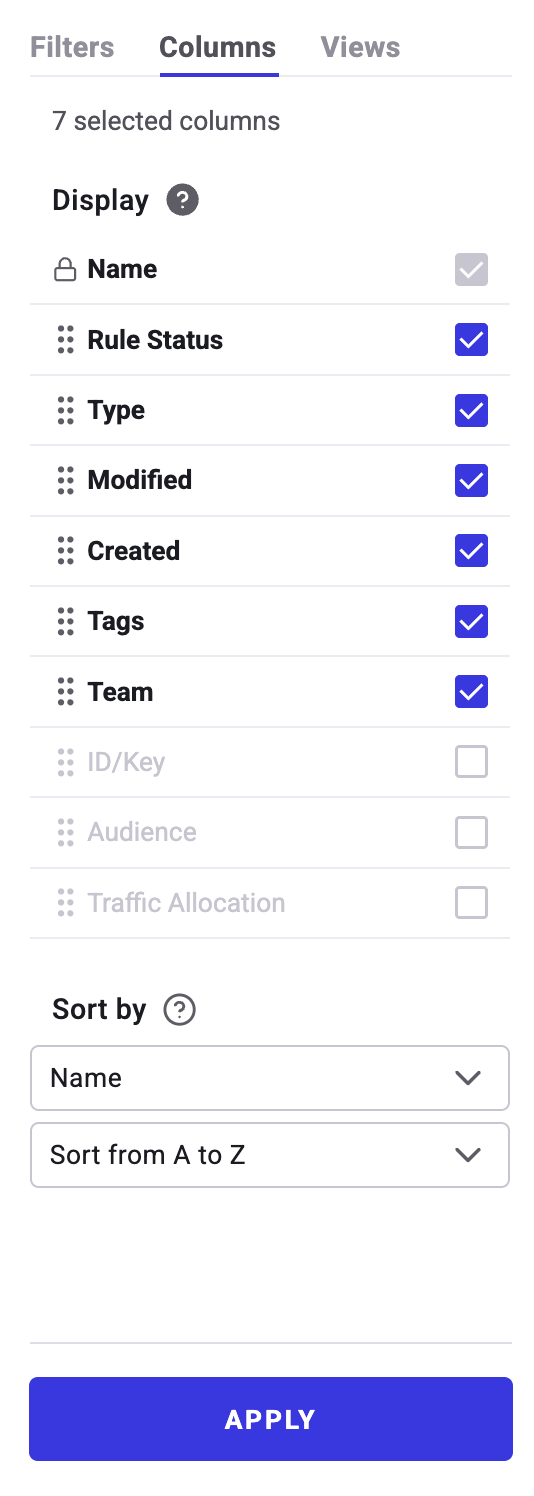
Sort flags by modification date, creation date, or tags
Choose which columns appear
Select a view
Kameleoon applies the Production environment view by default. Click Views in the right sidebar to select a saved view, or create a custom view to save your current filter and column settings. To load a specific view automatically when the dashboard opens, set it as the default view by clicking the three-dots menu > Default.Kameleoon generates a unique URL with custom parameters when you create a view. To share this URL with team members, click the three-dots menu > Copy URL.
Turn a flag on or off
Click the toggle on a flag’s card to turn the feature flag on or off. Read Turn your feature flag on or off for more detail.Edit a flag
Hover over a flag’s card and click the pencil icon to edit the flag in the Rollout Planner.Use a flag’s actions menu
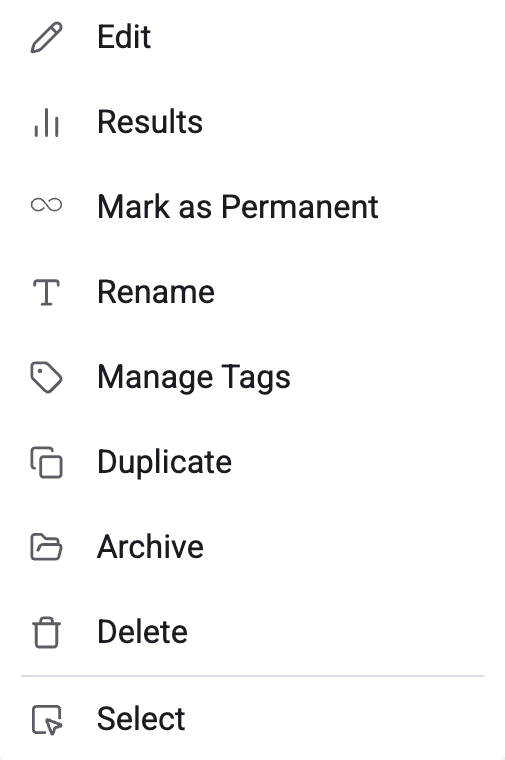
Edit
Opens the flag in the Rollout Planner.Results
Opens the flag’s overall Results page. Read View your feature flag’s overall results to learn what it shows.Mark as permanent/temporary
Changes the flag’s type. Kameleoon shows only the option that applies to the flag’s current type, for example Mark as Permanent for a temporary flag. Read Manage feature flag technical debt to learn how Kameleoon tracks flag types.Rename
Rename an existing feature flag. The Rename sidebar opens. To confirm the new name, click Save.Manage tags
Manage the tags associated with a feature flag. The Manage tags sidebar opens. The list and the flag card highlight the tags already associated with the flag.
Duplicate
Duplicate an existing feature flag to quickly create similar flags. The Duplicate sidebar opens. To confirm the creation of the new feature flag, click Save. Duplication clones the rule configurations (for all environments), flag setup, and the original flag’s tags.Archive
Archives the flag.Delete
Delete an existing feature flag.You must set the flag to OFF in all environments before you can delete it.
Select
Selects multiple flags to apply a grouped action. Read Perform grouped actions for the list of available grouped actions.Expanded view

- Name: The rule’s name.
- Rule status: Whether the rule is active or paused.
- Type: Targeted Delivery, Experimentation, or Progressive Delivery.
- Modified: The rule’s last-modified date.
- Created: The rule’s creation date.
- Tags: The rule’s tags.
- Team: The rule’s team.
View additional details for a rule
Hover over the information icon on a rule to see additional details: the rule’s project, ID, type, status, and creation date, plus the associated experiment’s ID and creation date.Edit a rule or view its results
Hover over a rule to access two icons:- Click the pencil icon to edit the rule in the Rollout Planner.
- Click the results icon to open the rule’s own Results page. What you see there depends on the rule’s type. Read Analyze a rule’s results to learn how each type differs.
View flags across all environments
Selecting All environments from the environment dropdown changes the table’s layout in both Collapsed and Expanded view.
Perform grouped actions
Apply actions to multiple feature flags simultaneously using the Grouped actions sidebar.
- Click the More options (three-dots) menu on any feature flag card.
- Click Select. The Grouped actions sidebar opens.
- Select the checkboxes next to the feature flags you want to modify.
- In the sidebar, click the action you want to perform:
- Manage tags
- Archive
- Remove
- Mark as temporary
- Mark as permanent
- Turn on
- Turn off
- Confirm the action in the pop-up window.