Create new custom data
To create new custom data:- Click Settings > Custom data.
- Click New custom data in the top right of the page.
Structure of the creation pop-in
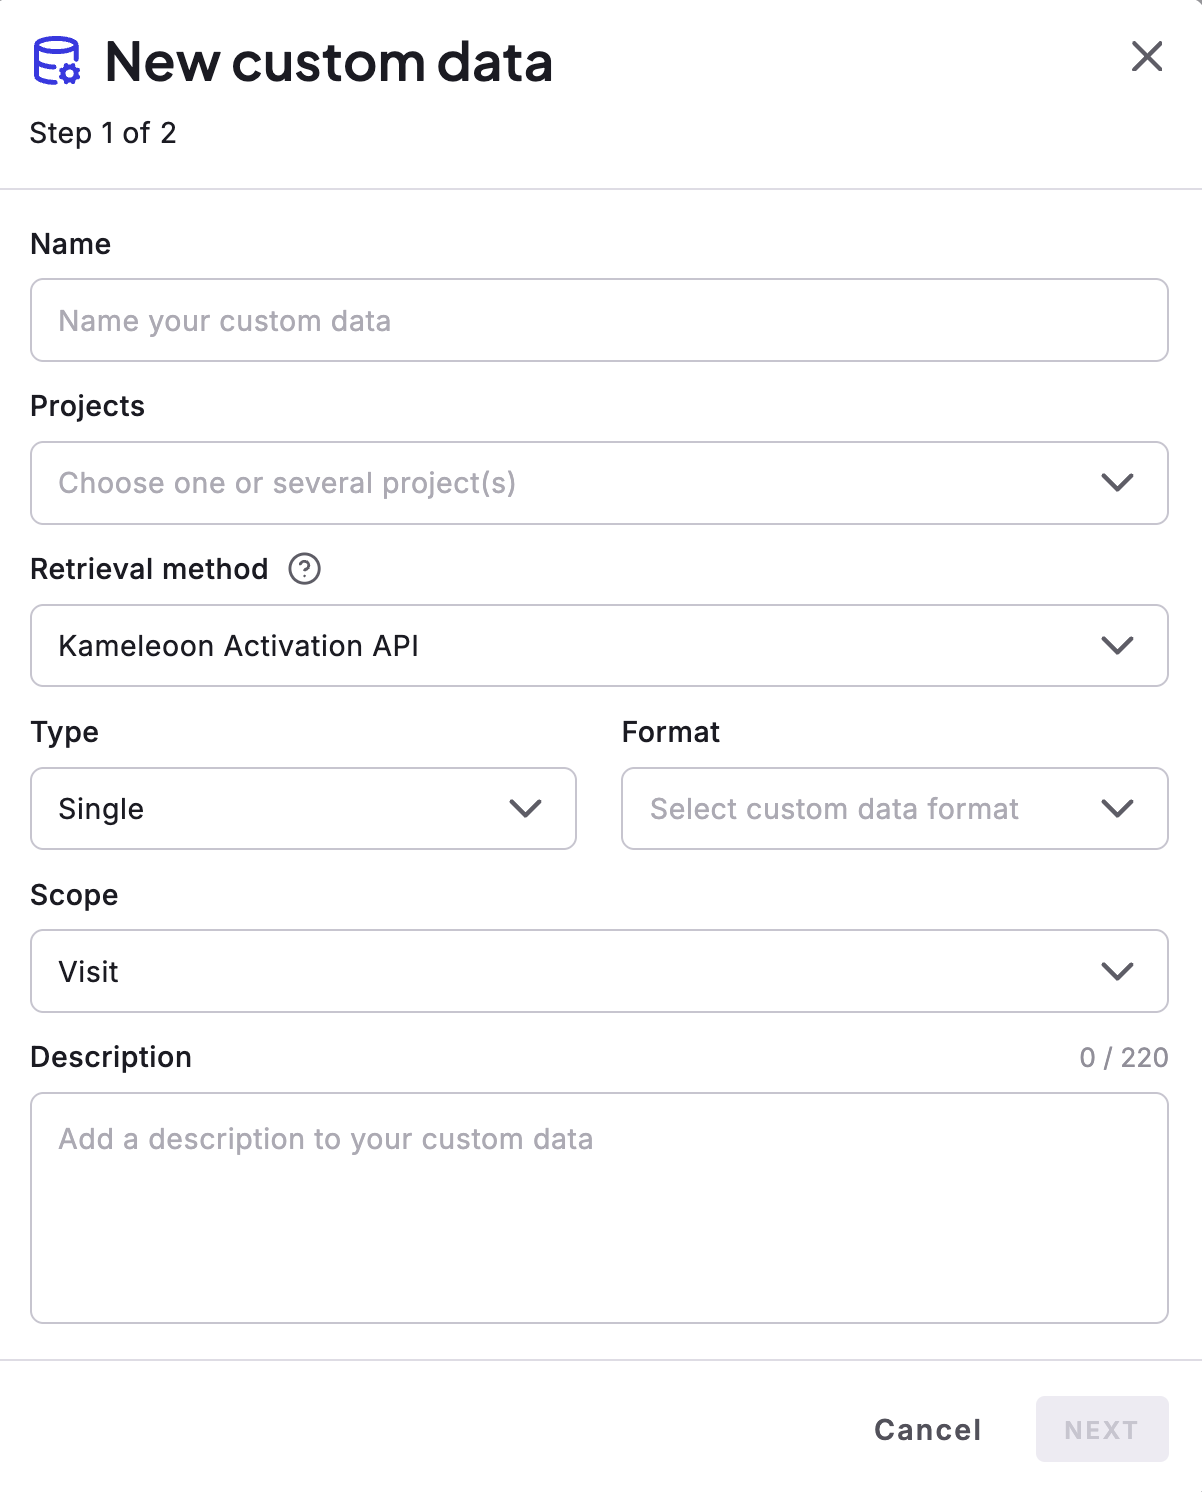
- Name the new custom data.
- Select a project.
- Tell Kameleoon how to retrieve custom data.
Custom data name
Give your custom data an easily identifiable name. If you select several websites, make sure you pull custom data from all of them. You can have a maximum of 255 active custom data points.Value retrieval
Retrieval method
Choose the custom data’s value retrieval method from the dropdown menu. The main tag management tools are:- GTM data layer (
dataLayer) - Commanders Act data layer (
tc_vars) - Tealium (
utag.data&utag_data)
dataLayer, proceed as follows to retrieve values:
- If the key is in level 1 of the
dataLayer, enternamein the Variable Name field. - If the key is in level 2 of the
dataLayer, enterproperties.countryCodein the Variable Name field.
setCustomData() method.
If you choose Kameleoon SDK method, set the value using a Kameleoon SDK’s addData() method. Use this retrieval method when you target visitors with Kameleoon Feature Experimentation.
If you choose Custom JavaScript code, write the code directly into this field. Your code must return an object with two keys: value, with the value you want to provide for this custom data, and (optionally) override, with a boolean value (false by default). Kameleoon runs the code again every 100 ms for the first 3 seconds after the first invocation, then every 3 seconds after that.
Here is an example:
Type
Select the structure of the data you want to retrieve from the dropdown menu. The data type can be:- single (example:
127) - list (example:
126, 127, 128;shoes, dress, coat) - count list of (example:
shoes: 3, dress: 1, coat: 1)
Format
Select the format of the data you want to retrieve from the dropdown menu. The data format can be:- string (example:
woman dress) - boolean (example:
female = "true/false") - number (example:
cart amount = "127")
Scope
Select your custom data’s scope in the dropdown menu:- Page: For each new page, Kameleoon resets the data’s value. For example, cart amount.
- Visit: Kameleoon resets the data’s value at each new visit. For example, geolocation.
- Visitor: The unit of data relates to the visitor and not to the visit. For example, female = true.
Options
Click Next to access available options for your custom data.Use this data only locally for targeting purposes
If you use your custom data solely for targeting, you don’t need to store it on the server. In this scenario, use theLocalData API, which helps conserve server space because it doesn’t count towards the limit of 255 active custom data points. However, you can’t use custom data managed through the LocalData API for reporting on the Results page.
If you choose to store custom data on the server, be cautious not to save sensitive information. Also, the value of any custom data you send to the server can’t exceed 1,000 characters.
Use this custom data as input for AI Predictive Targeting
If your project has AI Predictive Targeting enabled, you can choose whether to include this custom data as an input for the predictive model. You can’t use custom data that has Use this data only locally for targeting purposes enabled as model input, because Kameleoon doesn’t send local data to the server. Don’t activate this option if the custom data is highly targeted (for example, specific to individual visitors or very small segments). The model only accepts Number and Boolean custom data types. Avoid adding sensitive data such as dates, timestamps, or unique visitor identifiers (like email addresses or customer account numbers), as these elements are unsuitable for predictive models.Use this custom data as a unique identifier for cross-device history reconciliation
When you activate this option, Kameleoon treats this custom data as a unique identifier for your visitors and uses it to map several Kameleoon visits to a unique user. For more information, see cross-device experimentation.Save the values for the targeting condition associated with the custom data point
This option allows you to define a specific list of values that are then available for this custom data in the segment builder. In the New custom data pop-in (first page of the creation flow), click Paste a sample code to get a code example. Your code must synchronously return a JavaScript array of objects. Each object in this array should represent a possible value for the custom data and must include:- A
valuekey, containing the actual data (its type must match the custom data’s defined type). - A
labelkey, providing a string description for that value.
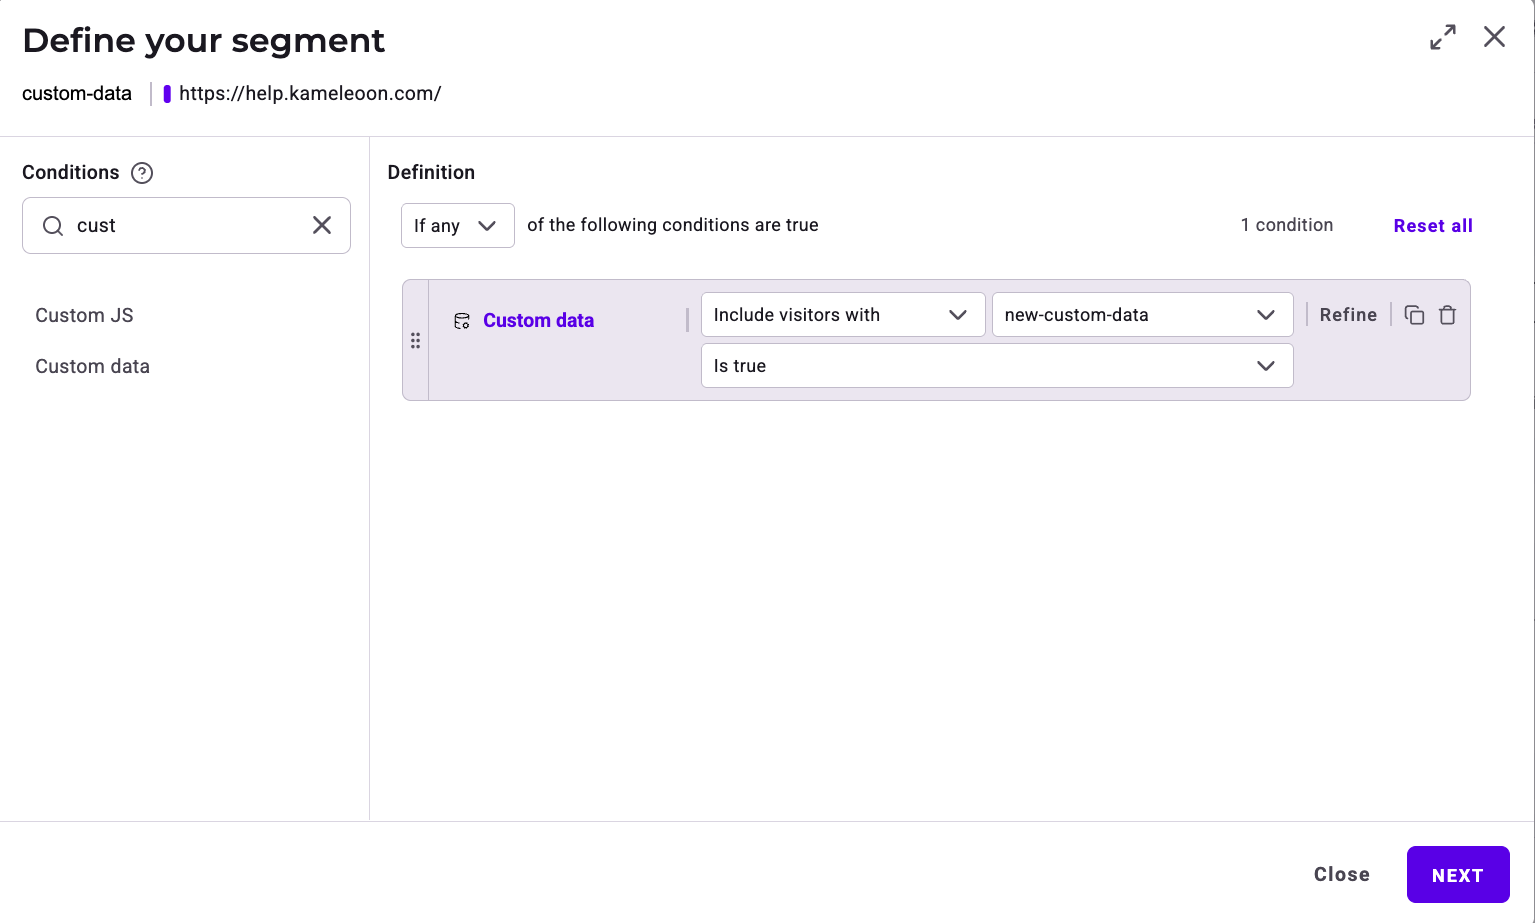
Define custom data as a targeting condition
To add a custom data to a new segment:- Select your desired data in the Custom data tab of the Conditions column.
- In the dropdown menu, set the custom data value required to target a user.
- Include or exclude visitors meeting the custom data condition.